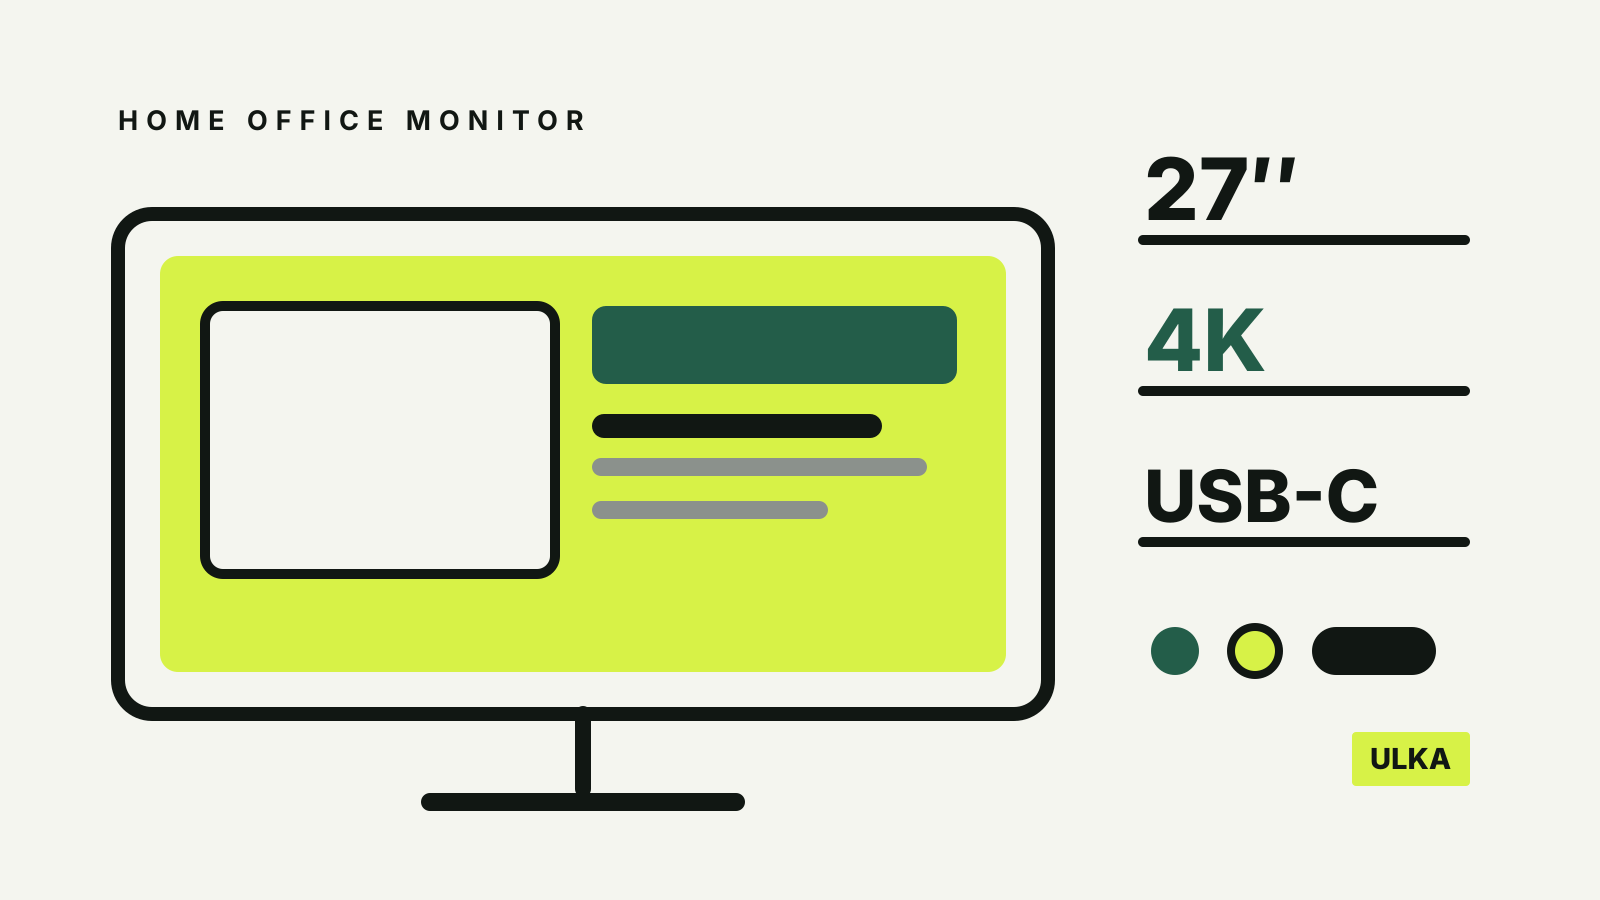
A home-office monitor is easier to choose once you separate three decisions: how large the screen can be on your desk, how many pixels you want at that size, and which connection your computer can actually drive. The labels on a product page matter less than whether those three parts fit together.
This guide uses official display and workplace guidance checked on 11 October 2026. It is a buying framework, not a claim that one screen size is best for everyone.
Start with the desk, not the diagonal
Monitor size is measured diagonally, so a 27-inch screen is not 27 inches wide. With a standard 16:9 panel, the screen itself is roughly:
| Diagonal | Approximate screen width |
|---|---|
| 24 inches | 53 cm |
| 27 inches | 60 cm |
| 32 inches | 71 cm |
Add the stand footprint and room for cables before deciding what fits. A large panel pushed too close can be less comfortable than a smaller one placed properly.
Safe Work Australia’s workstation guide places the screen about one arm’s length away, directly in front of the user, with eye level slightly below the top of the screen. Workplace Health and Safety Queensland gives similar advice and notes that the exact distance can change with screen size and individual vision.
That suggests a practical sequence:
- Sit where you normally work.
- Check how far the screen can sit from your eyes without the stand crowding the keyboard.
- Mark the maximum width available between speakers, lamps or a second display.
- Make sure the stand can raise the screen to a comfortable height, or that the monitor supports the arm or mount you plan to use.
A height-adjustable stand often matters more than a thinner bezel. If the included stand cannot place the top of the display near eye level, budget for a riser or a compatible monitor arm.
Resolution controls workspace and sharpness
Resolution is the number of pixels across and down the panel. It is separate from physical size. A 27-inch 2560 × 1440 display and a 27-inch 3840 × 2160 display occupy similar desk space, but the latter packs more pixels into that area.
More pixels can make text and interface elements look sharper, but they can also make them appear physically smaller at 100% scaling. Windows and macOS can enlarge text and controls while keeping the panel at its native resolution.
Microsoft recommends using the resolution marked Recommended in Windows. Its display-resolution guidance explains that lower-than-native settings can make text less sharp or cause stretching and black borders. If the interface feels too small, change display scaling rather than lowering the resolution first.
Think about the work you keep open:
- A single document, browser or video call needs less horizontal room than two documents side by side.
- Dense spreadsheets, timelines and code benefit from more usable pixels, provided scaling still leaves text comfortable.
- Photo or video work may justify a higher-resolution panel, but colour performance and calibration support are separate specifications.
- A second display may be more useful than one very wide panel if you need a reference window that stays visible.
Windows lets each connected display use its own resolution and scale settings. Microsoft’s multiple-monitor guide also recommends arranging the displays in Settings to match their physical positions, so the pointer moves between them predictably.
Match the ports to the computer you already own
A monitor input is useful only if your computer can output the required resolution and refresh rate through the same connection.
HDMI and DisplayPort
HDMI is common on laptops, docks and monitors. DisplayPort is common on desktop graphics cards and business monitors, and can also travel over USB-C on compatible devices. The connector version, graphics hardware, cable and monitor must all support the mode you want; the presence of a socket alone does not prove every resolution or refresh-rate combination.
VESA, which administers the DisplayPort standard, maintains an official DisplayPort FAQ covering current versions, adapters, multi-display support and DisplayPort over USB-C. Check the computer and monitor manuals for their maximum supported output and input, not just the name printed beside the port.
USB-C
A USB-C monitor can reduce a laptop setup to one cable, but only when all required functions line up:
- the computer’s USB-C port supports video output;
- the monitor accepts video over its upstream USB-C port;
- the monitor’s charging output is enough for the laptop;
- the cable supports the required video, data and charging functions.
Microsoft’s external-display troubleshooting guidance says a USB-C port may support an additional video output; it does not treat every USB-C port as automatically display-capable. Compare the laptop’s port specification with the monitor’s upstream USB-C specification before buying.
If the monitor has an integrated USB hub, also check what happens to USB data speed when high-resolution video uses the same link. This is a product-specific trade-off, not something the USB-C connector shape settles.
Check these specifications before paying
A useful product page should answer all of these:
- native resolution;
- supported refresh rates at that resolution;
- HDMI, DisplayPort and USB-C inputs, with their versions or stated limits;
- USB-C charging output in watts, if included;
- height, tilt, swivel and rotation adjustments;
- VESA mount pattern, if you may use an arm;
- panel dimensions with the stand, including minimum and maximum height;
- warranty and dead-pixel policy;
- whether the power supply is internal or an external brick.
For a laptop, check its manual or manufacturer support page for the maximum external-display resolution, refresh rate and number of displays. A splitter normally mirrors one signal; it does not necessarily create two independent extended desktops. A dock can add flexibility, but it introduces its own display and charging limits.
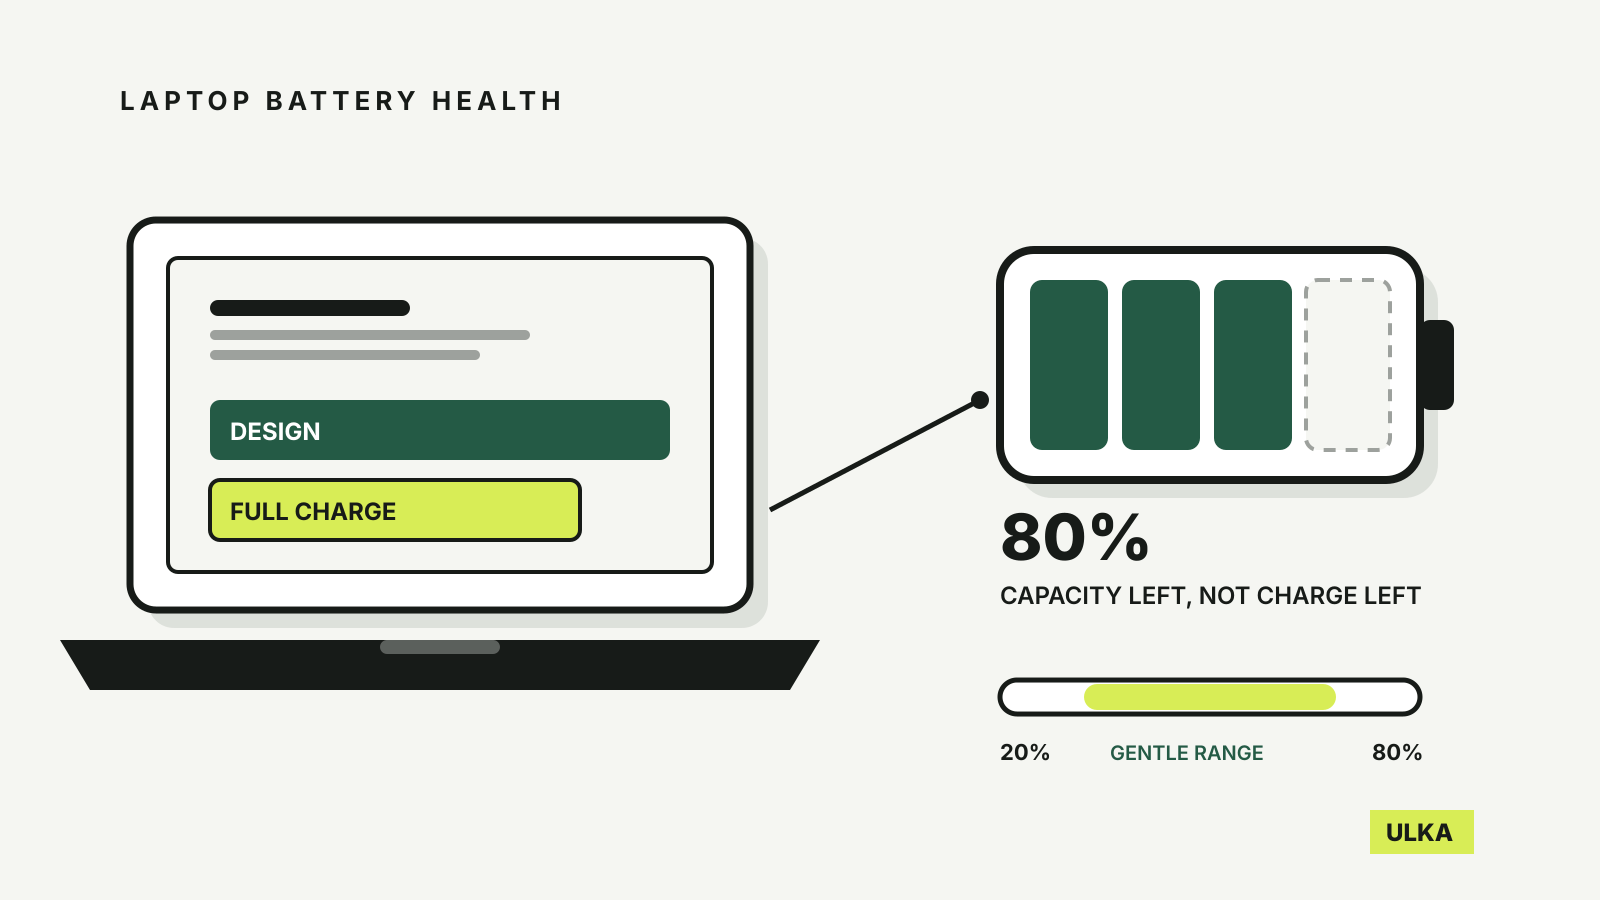
If you are deciding whether the computer itself still suits the job, see ULKA’s guide to how much RAM you need in a laptop. For a portable setup, our laptop battery-health guide explains what the reported capacity figure actually means.
A simple decision rule
Choose in this order:
- Fit: the panel and stand work at roughly arm’s length without forcing your keyboard forward.
- Native resolution: it provides enough workspace while remaining readable with sensible scaling.
- Connection: your computer and cable can deliver the chosen resolution and refresh rate.
- Adjustment: the stand or mount reaches a comfortable height and angle.
- Extras: USB hub, charging, speakers and webcam are useful only after the display basics are correct.
This order avoids paying for a feature your laptop cannot use or buying a large panel that cannot sit at a comfortable distance.