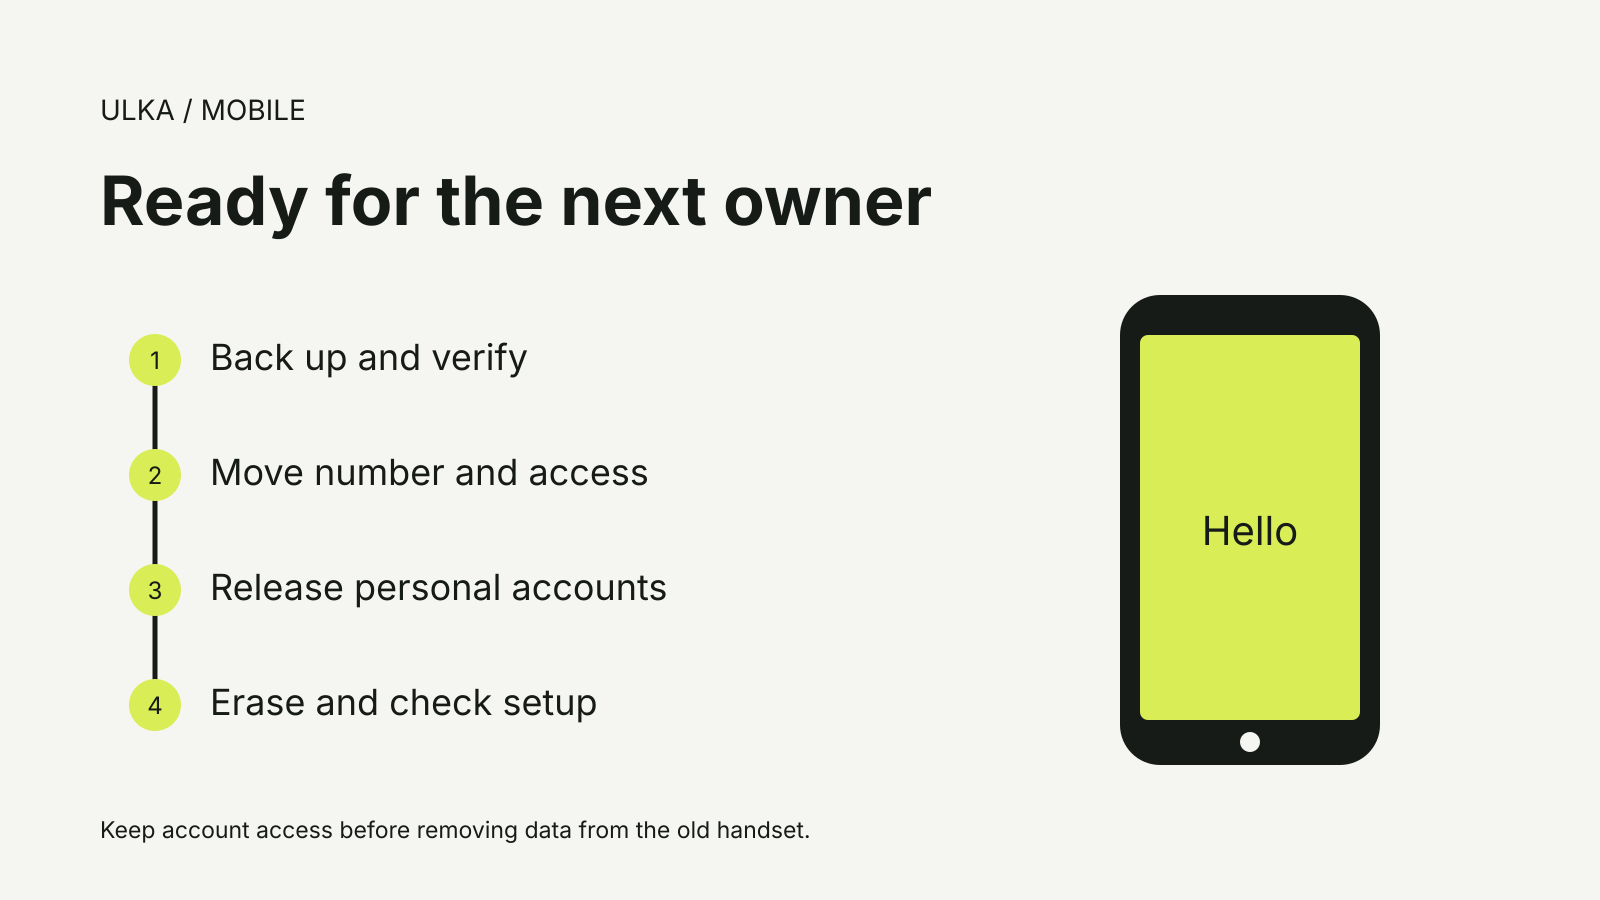
A phone migration can copy your photos successfully and still leave you without access to an important app. Before wiping the old device, separate the transfer of files from the transfer of accounts, messages and the mobile number.
Apple and Google provide different migration routes depending on which phone you are moving to. Their current instructions, checked 8 October 2026, also distinguish transfers during setup from moving selected content afterward.
Choose the route before finishing setup
Apple’s Move to iOS guide describes moving Android content while setting up an iPhone or iPad. If setup is already finished, Apple says you can erase the new device and start again, or transfer content manually.
Erasing is a choice that needs preparation: save any new material already on the destination first. The alternative is to move supported content manually rather than assuming the full setup transfer can be replayed later.
For the reverse move, follow Google’s iPhone-to-Android instructions. The supported route depends on the destination phone and transfer method. A cable and a wireless transfer do not necessarily move identical categories of data.
Android to iPhone: prepare both devices
Apple asks you to turn on Wi-Fi, connect both devices to power and confirm that the selected content will fit on the destination. Its instructions also support a USB-C cable connection for a faster transfer where available.
During setup, choose the Android transfer option on the iPhone. In the app-based route, the new phone displays a code, the Android device connects to the temporary network and you select what to move.
Apple tells users to wait until the progress bar on the iPhone finishes, even if the Android phone reports completion first. Keep both phones near each other and avoid interrupting the transfer.
Check categories rather than a single completion message
Apple lists contacts, message history, photos, videos, files, calendars and other supported settings. It includes WhatsApp messages and media in its documented migration flow. Some free apps can transfer when they are available on both platforms and support the feature.
That does not mean every installed app carries over its data or signed-in state. Apple says music, books and PDFs may need manual transfer. Check the destination’s apps and important files individually before deciding the move is finished.
| Check on the new phone | What to verify |
|---|---|
| Photos and files | Open older items as well as the latest ones |
| Messages | Check the conversations you need to keep |
| Apps | Confirm availability and successful account access |
| Mobile service | Test the transferred number and calls |
| Account security | Confirm you can complete required verification |
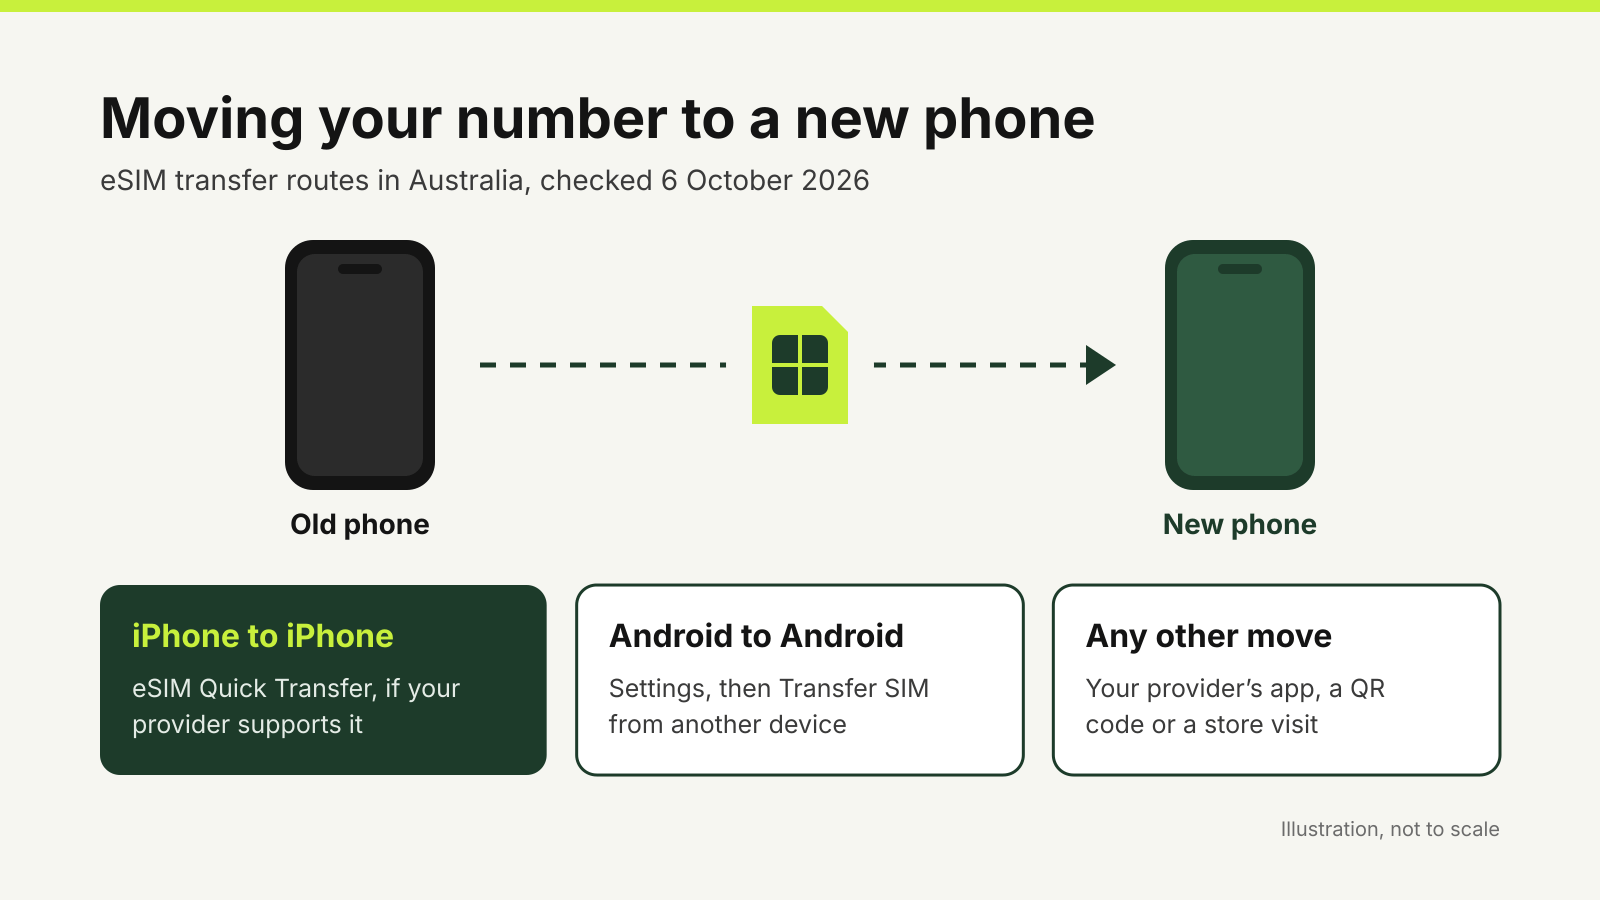
The last two checks are separate from copying a photo library. For number migration in Australia, see moving an eSIM to a new phone.
iPhone to Android: review the transfer method
Google’s guide explains how to copy supported data from an iPhone to a new Android phone. Follow the destination’s setup flow and read the category list for the cable or wireless method you use.
Google also instructs users switching away from iPhone to turn off iMessage so texts can reach the Android device. Follow its linked Apple instructions rather than treating an installed messaging app as proof that the number is ready.
Keep the old phone until the new one can receive messages and access your essential accounts. A transfer can be complete while an app still needs its own migration or recovery process.
Erase only after the final checks
Make a backup of anything that did not move and open the files you need on the destination. Check chats, mobile service and sign-ins before handing the old device to another person.
The next step is different from migration. Our phone-wiping guide covers removing the old device’s data and account connections before selling or trading it in.