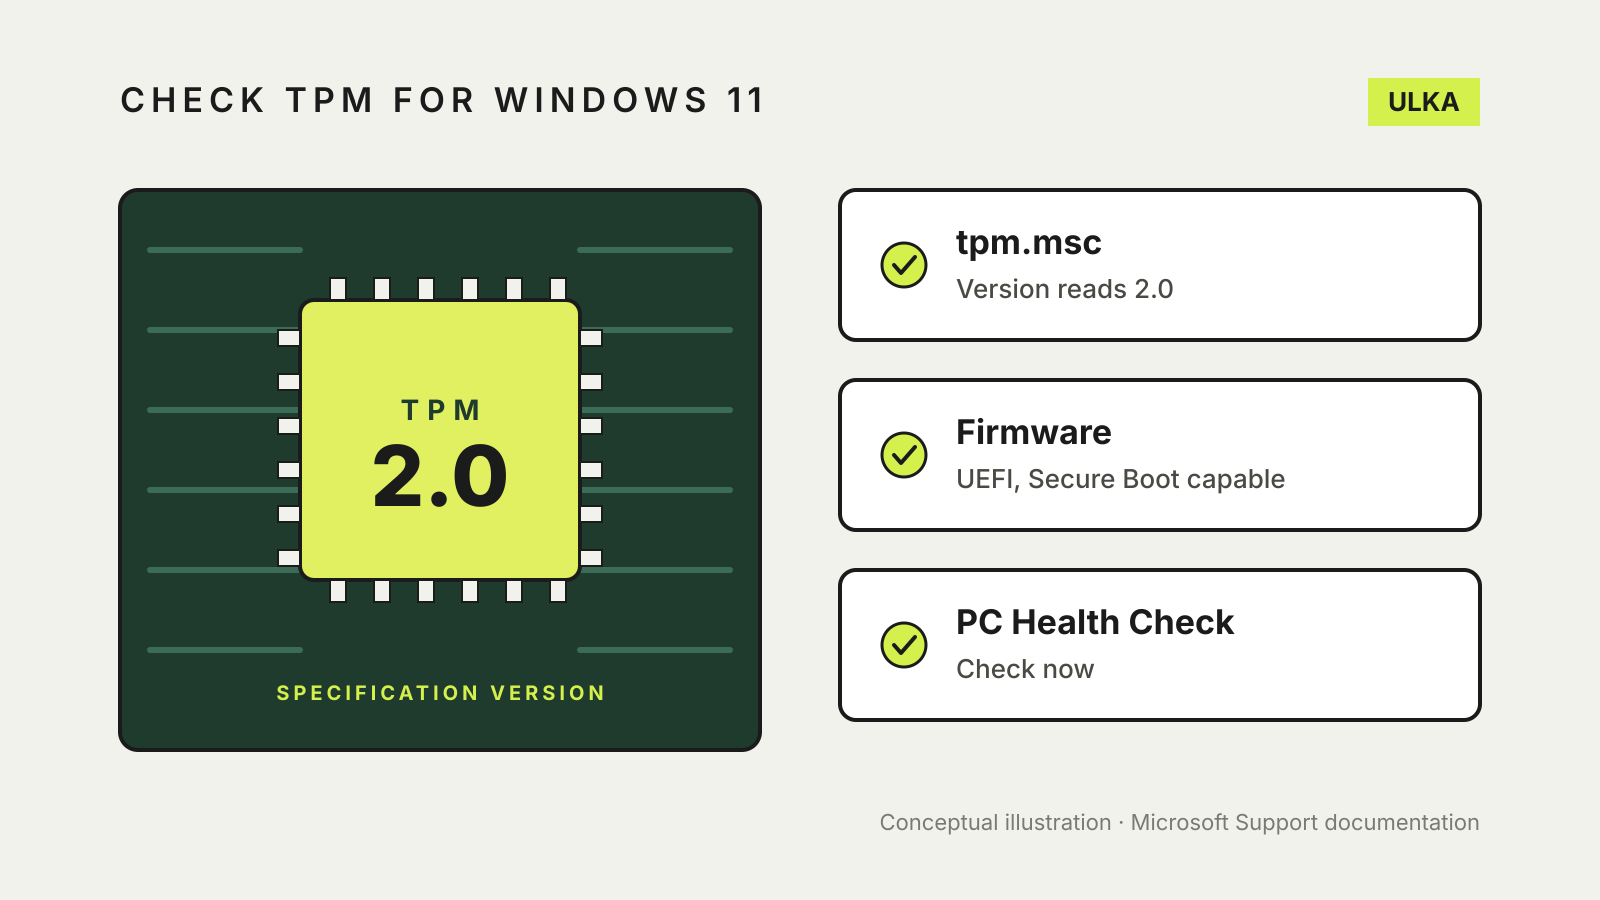
To check TPM for Windows 11, press Windows key + R, type tpm.msc and select OK. If the window says the TPM is ready to use, look at Specification Version under TPM Manufacturer Information: it needs to read 2.0. If it says a compatible TPM cannot be found, the chip may simply be switched off in your PC’s firmware, which is common on desktop motherboards.
TPM 2.0 is one of several Windows 11 requirements, alongside UEFI firmware that is Secure Boot capable, a compatible 64-bit processor, 4GB of RAM and 64GB of storage. This guide covers how to check each one on a Windows 10 PC, how to turn on a disabled TPM or switch to UEFI, and what to do if your PC still does not qualify. It follows Microsoft’s support pages, checked on 5 November 2026.
Why this matters now
Microsoft ended support for Windows 10 on 14 October 2025. Its support pages say the PC keeps working, but it no longer gets free security fixes, software updates or technical help through Windows Update. If you are still on Windows 10, checking whether the same PC can run Windows 11 is the first step. Our guide to your Windows 10 options after support ended covers what to do if it cannot.
The quickest check: PC Health Check
Microsoft’s PC Health Check app runs the whole eligibility test at once. Search for PC Health Check from the taskbar, or install it from Microsoft’s link if it is missing, then select Check now under Windows 11 eligibility. Microsoft says the app explains why a device is or is not eligible and what you can do about it.
Two things to know about the result:
- The app does not check the graphics card or display. Microsoft says most compatible devices meet those requirements anyway.
- Your PC must already be on Windows 10 version 2004 or later to upgrade.
If PC Health Check flags only the TPM or Secure Boot, the fix may be a firmware setting rather than new hardware. Check the TPM by hand next.
Check the TPM version by hand
Microsoft gives two ways to see whether a TPM is present and which version it is.
With tpm.msc
- Press Windows key + R, or select Start > Run.
- Type tpm.msc and select OK.
- If you see “The TPM is ready for use”, check Specification Version under TPM Manufacturer Information. It must be 2.0.
- If you see “Compatible TPM cannot be found”, the TPM may be disabled. See the next section.
With Windows Security
- Go to Settings > Update & Security > Windows Security > Device security.
- Look for a Security processor section. If it is missing, the TPM may be turned off.
- If it is there, select Security processor details and check that Specification version is 2.0.
Microsoft says a version below 2.0 does not meet the Windows 11 requirement.
Turn on a disabled TPM
Microsoft says most PCs shipped in the past five years can run TPM 2.0, but some are not set up to do so. Retail motherboards for self-built PCs often ship with the TPM turned off even though it can almost always be enabled.
The setting lives in the UEFI firmware, sometimes called the BIOS, and its location varies by manufacturer:
- On Windows 10, go to Settings > Update & Security > Recovery and select Restart now under Advanced startup. Save your work first.
- Choose Troubleshoot > Advanced options > UEFI Firmware Settings > Restart.
- Look in a menu named Advanced, Security or Trusted Computing.
Microsoft lists the labels the TPM switch may use: Security Device, Security Device Support, TPM State, AMD fTPM switch, AMD PSP fTPM, Intel PTT or Intel Platform Trust Technology. Turn it on, save and exit, then run tpm.msc again to confirm the version.
If you are unsure what to change, Microsoft recommends checking your PC manufacturer’s support pages first. Firmware menus differ a lot between brands.
Secure Boot and UEFI
Windows 11 needs firmware that is UEFI and Secure Boot capable. Microsoft’s Secure Boot page makes a distinction worth knowing: to upgrade, your PC only has to be Secure Boot capable, which means running in UEFI mode. Turning Secure Boot itself on is recommended for security, but it is not what the upgrade check requires.
Secure Boot helps stop malicious software loading when the PC starts by allowing only trusted, digitally signed software during boot. Microsoft says most modern PCs support it, but some firmware settings make it look unavailable. The usual culprit is the PC running in Legacy BIOS mode, also called CSM.
To change it, restart into UEFI Firmware Settings the same way as above (on Windows 11 the path is Settings > System > Recovery > Restart now), then switch the boot mode from Legacy or CSM to UEFI. If both are offered, make UEFI the first or only option. Your manufacturer’s support pages are the safest guide here, so read them before changing the boot mode.
Microsoft also notes that it is replacing Secure Boot certificates first issued in 2011, which begin expiring from June 2026. On a supported version of Windows that update happens automatically.
The rest of the checklist
Microsoft’s Australian Windows 11 specifications page lists these minimums:
| Requirement | Minimum |
|---|---|
| Processor | 1GHz or faster, 2 or more cores, on a compatible 64-bit processor or system on a chip |
| RAM | 4GB |
| Storage | 64GB or larger |
| System firmware | UEFI, Secure Boot capable |
| TPM | Version 2.0 |
| Graphics | DirectX 12 or later with a WDDM 2.0 driver |
| Display | 720p, larger than 9 inches diagonally, 8 bits per colour channel |
Windows 11 Home and Windows 11 Pro for personal use also need an internet connection and a Microsoft account during first set-up. If your processor is the only problem, a firmware setting will not fix it.
Before you change firmware settings
Windows 11 uses TPM 2.0 for features such as Windows Hello and BitLocker. If BitLocker or Device Encryption is already on, find your BitLocker recovery key and keep it to hand before you change TPM or Secure Boot settings, in case Windows asks for it at the next start.