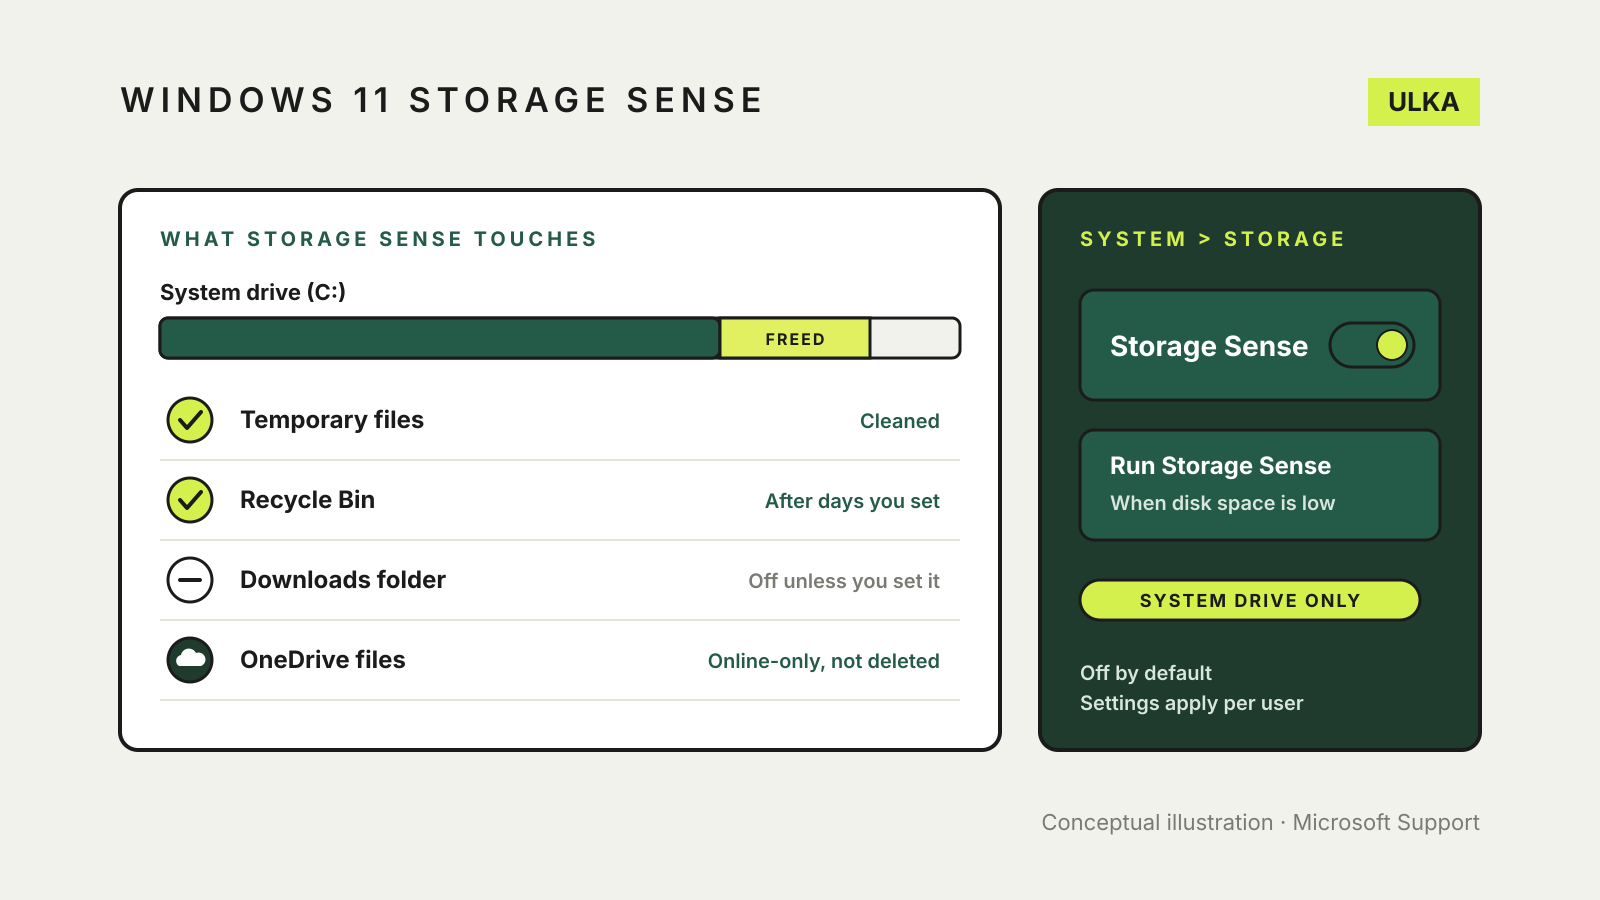
Windows 11 Storage Sense frees up drive space for you by deleting temporary files and old items in the Recycle Bin. Turn it on in Settings > System > Storage by setting Storage Sense to On. With the default settings it runs when your PC is low on space, and it leaves your Downloads folder and cloud files alone unless you change its settings.
This guide covers what Storage Sense removes, how to schedule it, the cloud-file setting worth checking and what to do when a Windows update still will not fit. It follows Microsoft’s support pages, checked on 16 November 2026.
What Storage Sense cleans up
Microsoft describes Storage Sense as a way to get rid of items you don’t need, such as temporary files and items in the Recycle Bin. Here is how each kind of file is treated:
| Item | With the default settings | What you can change |
|---|---|---|
| Temporary files Windows doesn’t need | Cleaned up when the PC is low on space | How often Storage Sense runs |
| Recycle Bin | Deleted after it has been there for some time | The number of days before deletion |
| Downloads folder | Not touched | Delete files not opened for a set period |
| OneDrive and other cloud files | See the section below | When unused files become online-only |
Two limits matter before you rely on it:
- It only works on the system drive, usually C:, where Windows is installed. For other drives, go to Settings > System > Storage > Advanced storage settings > Storage used on other drives.
- Settings are per user. Each person who signs in to the PC manages their own Storage Sense settings.
Storage Sense is off by default. Microsoft says that if a PC runs low on disk space and you have never used Storage Sense, Windows may turn it on to manage select temporary files and then notify you. You can switch it off straight away or once the low-space problem is fixed.
How to turn on Storage Sense
- Select Start > Settings > System > Storage.
- Set Storage Sense to On.
That is enough for the default behaviour. To decide when it runs and what it deletes, select Storage Sense on the same screen.
Choose when it runs and what it deletes
On the Storage Sense page you will find three settings worth a look.
Run Storage Sense. Choose how often it runs while you are online and signed in. If you leave the low-space option, Microsoft says the trigger depends on the size of the disk; you are in a low-space state when the capacity bar in Settings > System > Storage turns red.
Delete files in my recycle bin if they have been there for over. Pick the number of days. If you use the Recycle Bin as a safety net for files you might want back, choose a longer period.
Delete files in my Downloads folder if they haven’t been opened for more than. This one is off unless you set it. Think before you turn it on: the Downloads folder often holds the only copy of things like receipts, statements and installers you meant to keep.
Microsoft notes that Storage Sense cannot run unless you are signed in and have been online for more than 10 minutes.
OneDrive files become online-only, not deleted
When you are signed in to OneDrive (or another cloud provider that Windows supports), Storage Sense shows one more setting: Content will become online-only if not opened for more than. Files you have not opened for that period stay in the cloud but stop taking up space on the PC.
Microsoft is clear that this setting does not permanently delete any files. They can be made available on the PC again when there is free space and a network connection, and any file marked Always keep on this device is left alone. Microsoft’s page also notes that, from Windows 11 version 22H2, the default for OneDrive files is to become online-only if not opened for more than 30 days, so check this setting if you need files available offline.
Our guide to OneDrive Files On-Demand explains the online-only and always-available states in more detail.
Remove an old Windows installation
After a major upgrade, a previous Windows installation can take up a lot of room. To remove it:
- Select Start > Settings > System > Storage.
- Under disk usage, select Temporary files.
- Make sure Previous Windows Installation(s) is ticked, then select Remove files.
Microsoft says Windows needs additional space after an update so the update can be removed, typically for 10 days. If the upgrade is causing problems, deal with that before you clear this space.
When a Windows update needs more room
Windows checks for free space before installing an update and prompts you if there isn’t enough. Microsoft says feature updates typically need 6 GB to 11 GB or more of free space, and quality updates 2 GB to 3 GB or more.
Try these in order:
- Cleanup recommendations. Go to Settings > System > Storage > Cleanup recommendations, review each category, select what you want to remove and select Clean up.
- Unused optional features and languages. Microsoft says each installed language can need about 175 MB to more than 300 MB during an update, and optional features range from under 1 MB to almost 2 GB. Remove the ones you don’t use in Settings > Apps > Optional features and Settings > Time & language > Language & region.
- External storage. Connect a drive with at least 10 GB free, go to Settings > Windows Update and select Fix issues if it appears. Back up important files on that drive first, as Microsoft advises.
If space is tight because your files keep growing, moving them to an external drive or cloud backup is the longer-term fix. Our comparison of SSD and HDD drives for backup can help with the hardware.