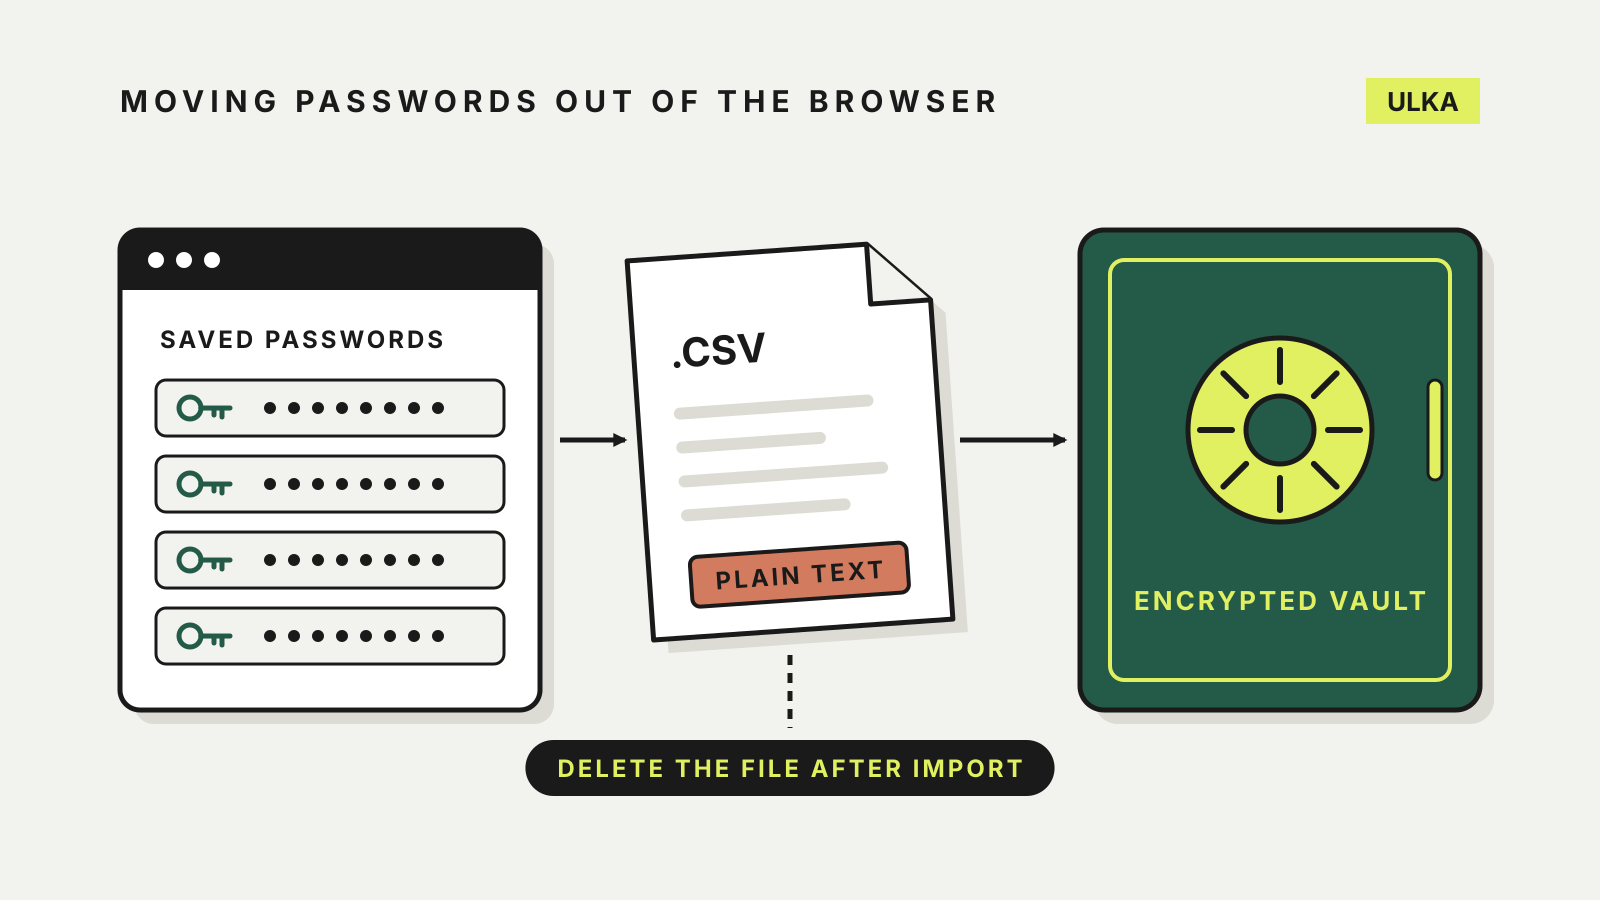
To import passwords from Chrome into a password manager, you export them from Chrome as a CSV file, import that file into the new manager, then delete the file. The middle step is easy. The risky part is the file itself: it holds every saved password in plain text, so it should exist for minutes, not days.
This guide covers Chrome, other Chromium browsers such as Microsoft Edge, and Apple’s Passwords app, with import steps for Bitwarden and 1Password as examples. The menus and warnings come from each company’s own help pages, checked on 16 October 2026.
Before you export anything
Choose the new password manager first. Set it up, create a strong master password and set up its account recovery before you move anything into it. Our password manager comparison covers the main options for Australians.
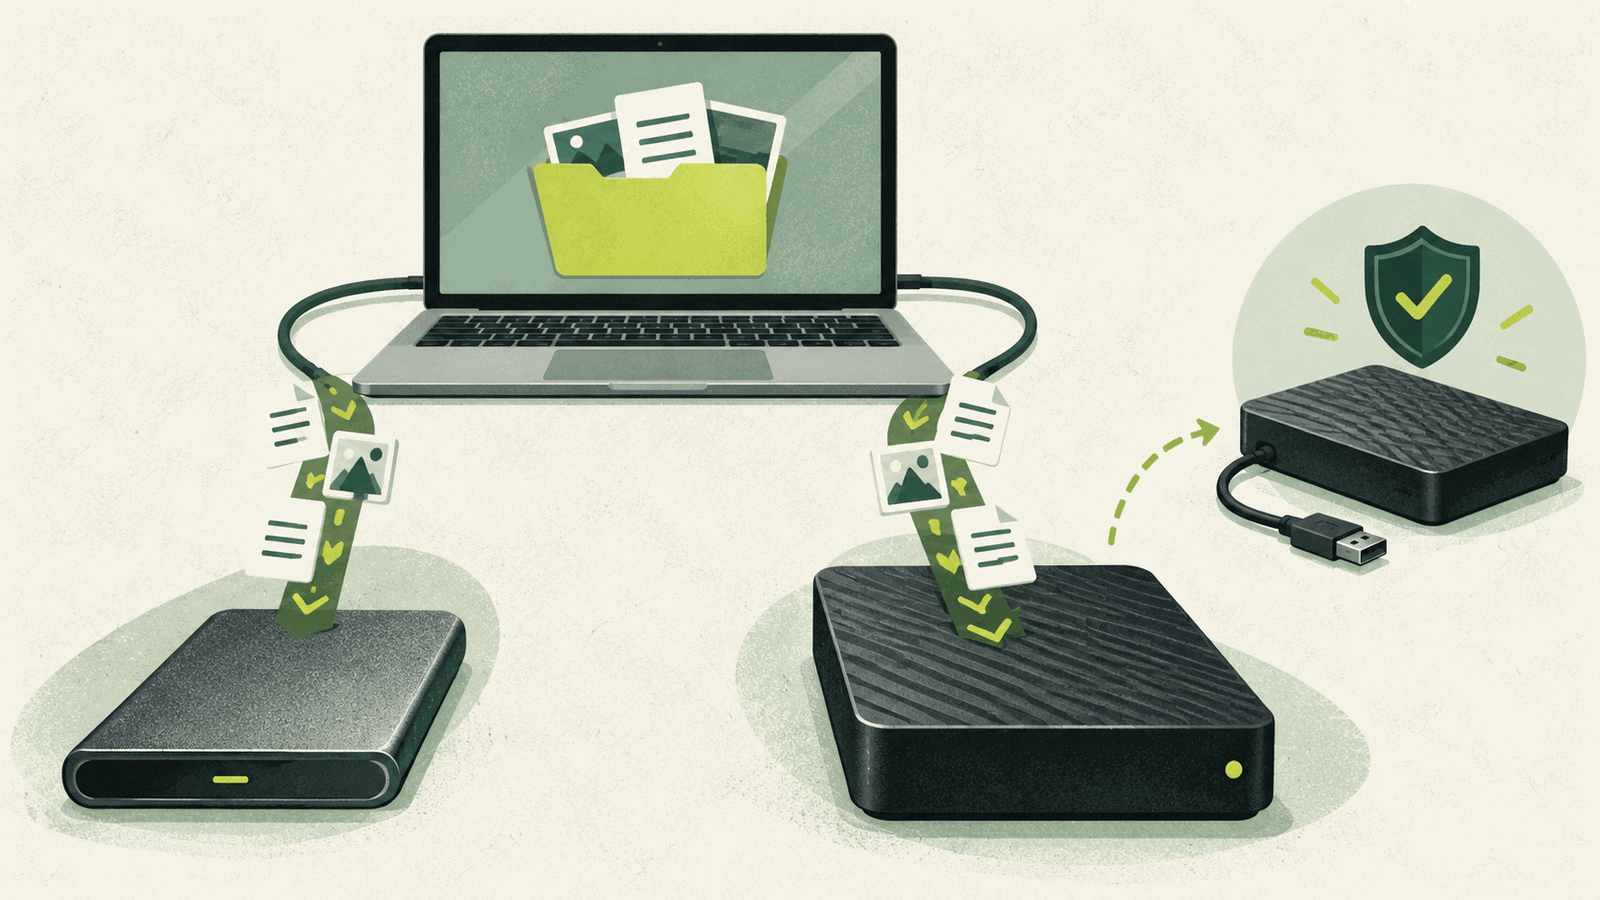
Pause backup software. 1Password’s Chrome import guide advises temporarily turning off backup software before you export, so the unencrypted export file is not copied into a backup. That includes cloud sync for your Desktop or Documents folder if the file might land there.
Use your own computer. Do this on a device you control, not a shared or work computer.
Know what will not move. 1Password says only passwords are imported from Chrome: credit cards, addresses and passkeys stay behind. Plan to copy cards and other details across by hand.
Step 1: export from Chrome or Edge
Google’s Chrome help page gives the desktop steps:
- Open Chrome.
- Select the More menu at the top right, then Passwords and autofill > Google Password Manager.
- On the left, select Settings.
- Next to Export passwords, select Download file.
You may be asked for your computer’s password. Bitwarden’s Chromium import guide notes that the same export works in Edge from its password settings, and that the file should be saved in comma-separated values (CSV) format. On a phone, Bitwarden describes the route as the browser menu, Password Manager, Settings, then Export Passwords.
Or export from Apple Passwords
If your logins live in iCloud Keychain, Apple’s export guide for the Passwords app on Mac is:
- Open the Passwords app.
- Choose File > Export All Passwords to File.
- Click Export Passwords, choose where to save the file and click Save.
Apple’s warning is blunt: exported passwords are not encrypted and are visible to anyone who has access to the file. It also notes that Wi-Fi passwords, passwords shared with a group you did not create, and Sign in with Apple accounts cannot be exported.
Step 2: import into the new manager
Bitwarden. In the web app, Bitwarden’s guide says to choose Tools > Import, pick the vault (and optionally a folder), select the file format that matches your browser, choose the file and select Import. Bitwarden encrypts the data on your device before it is sent to its servers. It also warns that importing does not check for duplicates, so importing the same file twice creates two copies of every login.
1Password. On a Mac, 1Password’s guide says to open and unlock the app, choose File > Import, select Chrome, add the CSV file, choose the account and select Import. On Windows the option sits under Migrate data into 1Password. You can also import on 1Password.com from the Import data menu under your name.
Bitwarden’s desktop app can also import directly from a browser profile on the same computer. If your browser is supported, that skips the unencrypted file altogether.
Other password managers have similar import screens. Look for an option named after the browser you exported from, because it tells the app how to read the columns in the file.
Step 3: delete the file straight away
Both Bitwarden and 1Password tell you to delete the exported file once the import has finished, and Apple says the same. Do it before you do anything else:
- Delete the CSV file.
- Empty the Recycle Bin or Bin.
- Check your Downloads folder in case the browser saved a second copy.
- Turn your backup software back on.
If the file was synced to a cloud folder before you noticed, delete it there too, including from the service’s deleted-files area.
Step 4: stop the browser competing
Once your logins are in the new manager, two autofill systems can fight over every sign-in form. 1Password recommends installing its browser extension and then turning off Chrome’s built-in password manager. To do that, use the Offer to save passwords and passkeys switch in Google Password Manager settings, as described on Google’s help page.
Turning off saving does not remove what is already stored. 1Password notes that Chrome keeps filling saved passwords until you delete them, and that deleting them is permanent. Check that the logins you use most work from the new manager first, then delete the browser’s copies. Google’s help page has a Delete all Google Password Manager data option in the same Settings screen for removing everything at once. Bitwarden suggests the same clean-up after an import.
Tidy up after the move
An import is a good moment to fix old habits:
- Use the new manager’s password health or security report, if it has one, to find reused and weak passwords.
- Change the passwords for email, banking and myGov first, because they unlock other accounts.
- Turn on multi-factor authentication for those accounts. Our guide to authenticator apps and SMS codes explains the options.
- Where a site offers passkeys, consider setting one up, as described in our passkeys guide.