The Apple Passwords app can share logins with family or other trusted people through a shared group. On an iPhone, open Passwords, tap the + button to create a new group, name it, tap Add People, then choose which passwords and passkeys to move into it. Everyone you invite needs an iPhone, iPad or Mac on iOS 17, iPadOS 17, macOS 14 or later, and must be in your contacts.
This guide covers how to set up the Passwords app, create and manage a shared group, what each member can do, and what to change when someone leaves. It follows Apple Support pages, checked on 7 November 2026. Apple’s on-screen icons and labels can shift between software versions, so look for the closest match if yours differs.
Before you start
Apple’s Passwords app overview says the standalone Passwords app arrived with iOS 18, iPadOS 18, macOS Sequoia and visionOS 2. It keeps passwords, passkeys, Wi-Fi passwords and verification codes in one place, syncs them across your devices with iCloud Keychain, and warns you about passwords that are weak, reused or found in known data leaks.
To get a shared group working smoothly:
- Update all your Apple devices to the latest software, as Apple recommends.
- Sign in to your Apple Account. Apple says this is required to create a shared group.
- Turn on iCloud Keychain on each device so shared items sync.
- Add each person you want to invite to your Contacts.
On iOS 17 and earlier there is no separate app: the same passwords live under Settings > Passwords, according to Apple’s guide to finding saved passwords.
Create a shared group on iPhone
Apple’s iPhone User Guide gives these steps:
- Open the Passwords app.
- Tap the + button. You may need to show your categories first.
- Enter a name for the group, then tap Add People.
- Type a name, email address or phone number and tap Add.
- Confirm, then select the passwords you want to share and tap Move. If you do not want to share anything yet, you can skip this step.
A contact shown in blue can be added. Apple says a contact shown in grey may be using a device that does not support shared password groups.
You can notify people you invite, and they can also find the invitation under Passwords > Group Invitations. To join, they open the invitation in their Passwords app and tap Accept. Apple’s advice is plain: do not accept an invitation if you do not recognise the sender.
Shared items are saved in iCloud Keychain and you can use them like any other saved password. Apple also describes shared groups on iPad, Mac and Apple Vision Pro, and lets you send a single password or passkey by AirDrop if a group would be overkill.
Who can do what
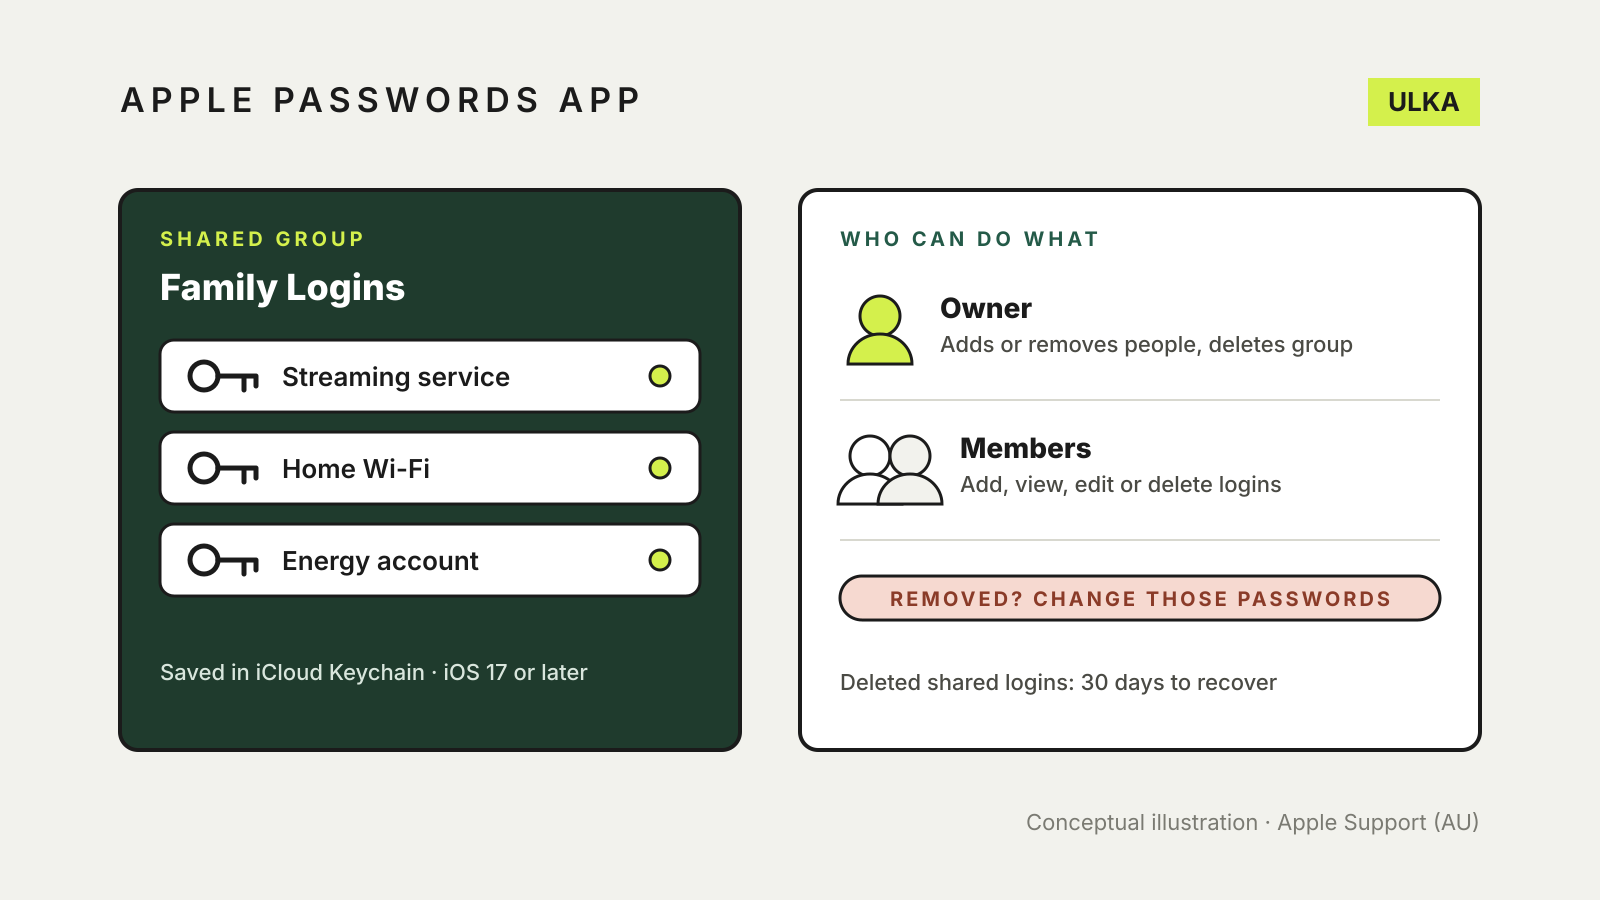
Apple’s Personal Safety User Guide describes two roles:
| Role | What they can do |
|---|---|
| Group owner (the person who created it) | Add or remove members, delete the group, and everything a member can do |
| Group member | Add, view, edit or delete passwords and passkeys in the group at any time, and leave whenever they choose |
Two consequences follow. First, a member can change or delete a shared login, and Apple says when a shared credential changes, it changes on everyone’s device. Share only accounts where that is acceptable. Second, you receive a notification whenever someone else is invited to the group, so you can see who joins.
Mistakes can be reversed for a while. Apple says if you delete a password or passkey you shared, you have 30 days to recover it. If you delete one that someone else shared, they receive a notification and can recover it within 30 days. Recently deleted items appear under Deleted in the Passwords app.
Manage the group
As the owner, open Passwords and tap the group’s name. From there Apple says you can:
- Add a member: tap your name, then Add People.
- Remove a member: tap their name, then Remove From Group.
- Stop sharing a login: tap Select, choose the account, then remove it from the group.
- Delete the group: tap your name, then Delete Group.
When someone leaves: change the passwords
Removing a person does not take back what they already saw. Apple warns that someone you remove may still have access to the accounts and passwords you shared while they were in the group. The same applies if you leave a group yourself, or delete a password from it.
After any of those changes, change the password or passkey for each account you own that the person should no longer use. Where the account allows it, also sign out other sessions and check its two-factor settings. Our guide to setting up passkeys explains how to replace a password with a passkey, and our guide to checking if a password has been leaked covers what to do if a shared login turns up in a breach.
What shared groups do not cover
A shared group is for day-to-day sharing among Apple users. It is not a plan for what happens if you lose access to your own account or cannot act for yourself. For that, read our guide to password manager emergency access. If some of your household uses Windows or Android, compare cross-platform options in our password manager comparison.